There was a ride originally planned for this
morning, but when I got up and it was raining the ride didn't
happen . So how else do you fill
the early morning hours of a Sunday? Insulate the attic!
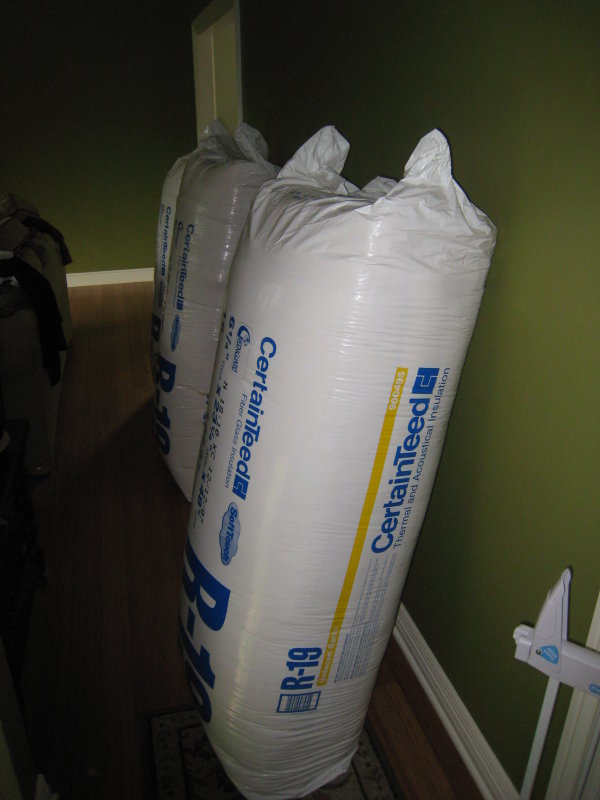
I've had two bags of battless R19 in the basement for at least
a year now. Attics in our area are supposed to be R48. I think I was
running an average of R29, so I bought these with the intention of
making R49.
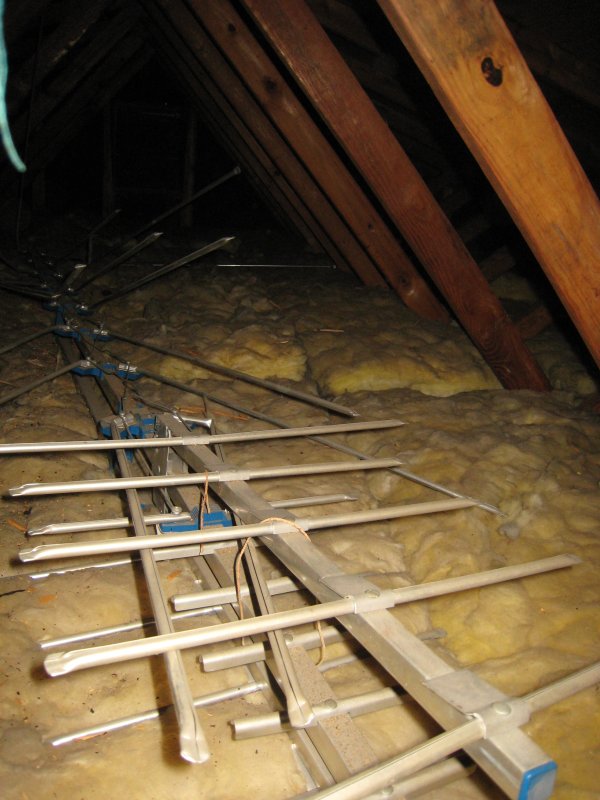
Three things were holding me back. This TV
antenna and the fact I have a lot of wiring to do in the attic.
The antenna simply needed cutting up and removal, the wiring just
wasn't worth leaving the insulation in the basement doing
nothing.
|
 |
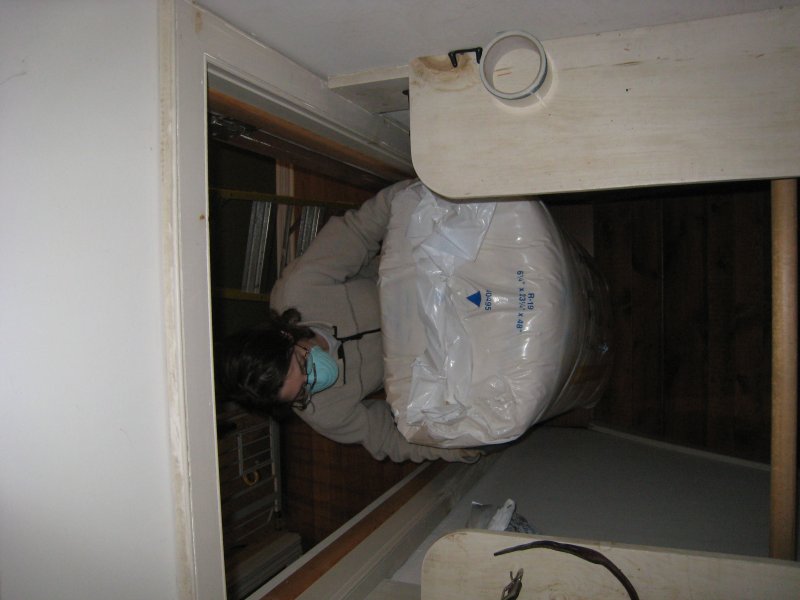
The third thing holding me back was the
thought that the bags of insulation wouldn't fit through the attic
opening. I thought I'd have to open them in the hallway and pull up
the pieces individually. To my surprise, the bags fit fine.
|
 |
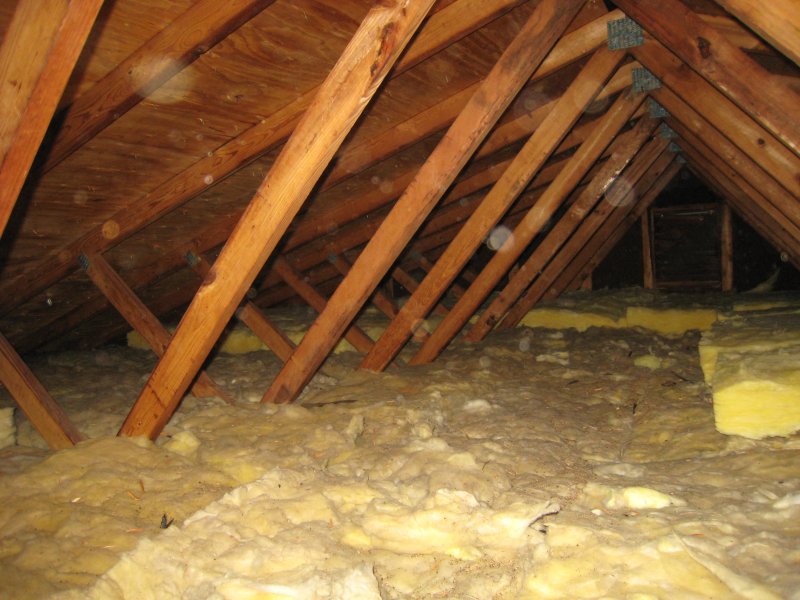
Once the bags were up, it all went in pretty
easily. I thought it would be a pain to get the pieces into the
tight spaces, but waving the pieces like the break-dance worm
slithered them right where they needed to go. The two bags went
fast and hardly covered anything, so we decided to get two more.
With four bags, I got almost half the attic to R48 or something
close.
|
 |
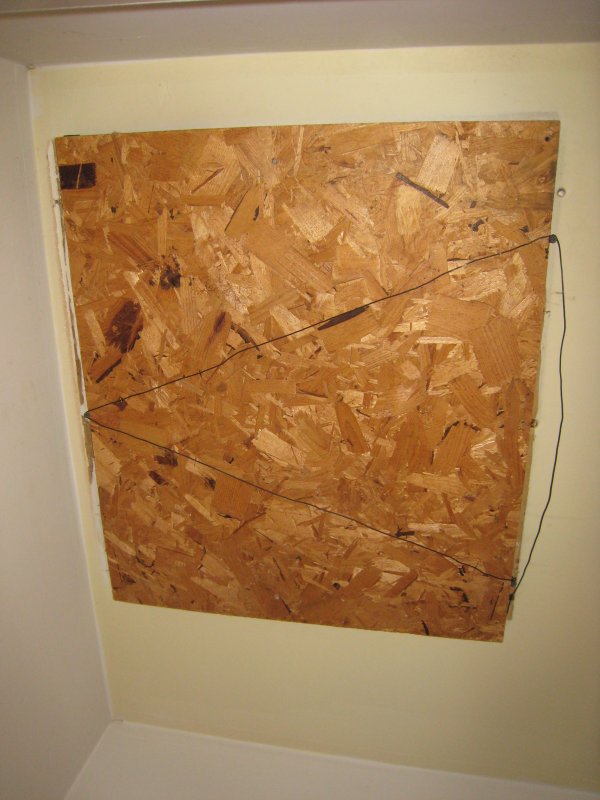
Having enough to do with insulation for a
while, I decided to make a better cover for the attic opening. I'd
just been pulling this piece of insulation over the hole and
hoping for the best.
|
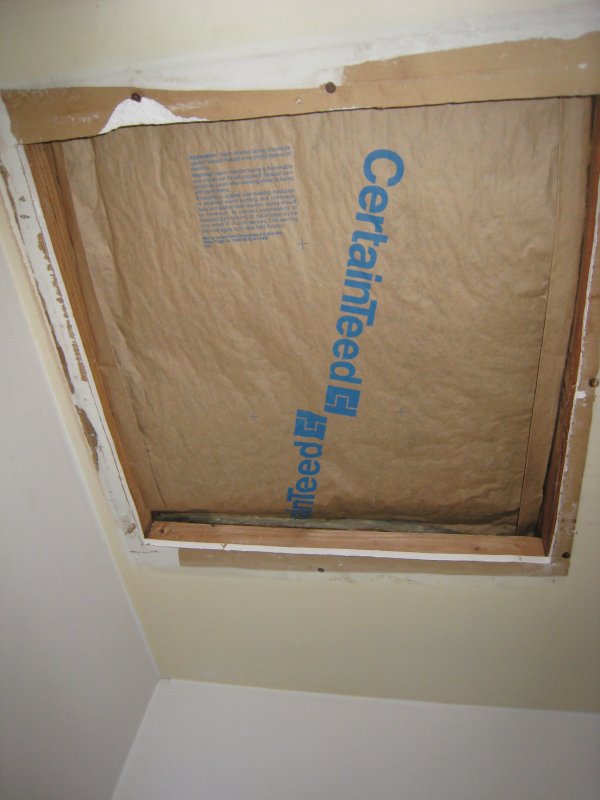 |
This was the "door" the original owners used,
but they had it screwed in place. Unfortunately that doesn't make it
very accessible. I used screws, but only to hold the bailing wire
that held the door. I also added some weather stipping around
the edges to seal it.
This project is far from over. I still
have a lot of work in the attic and insulation to finish,
but that's for another time.
|
 |
June 15, 08. I think I bought this insulation
last winter shortly after starting this project, but never got it up
into the attic. Since I was going to be in the attic for the deck speakers, I
dragged the three bags up. Not sure I'll get to distributing the
insulation, but at least it's out of the way from downstairs.
|
 |
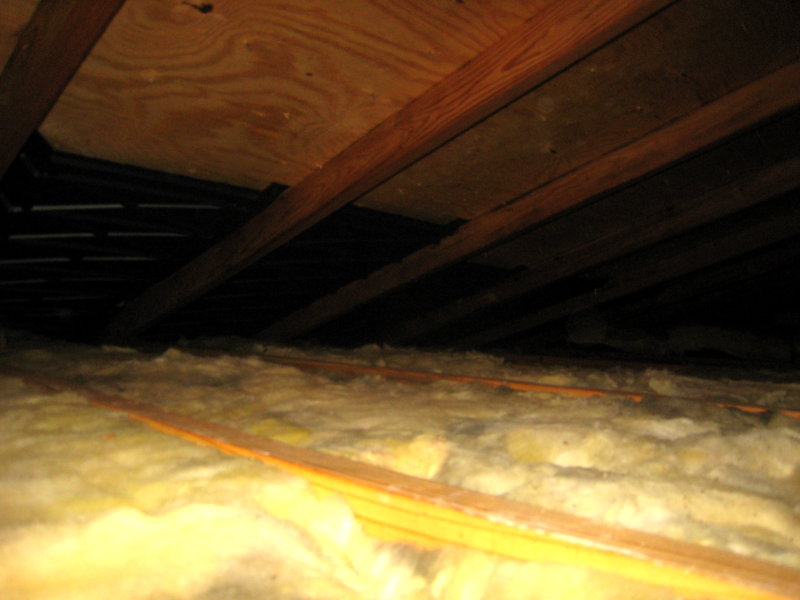
Dec. 7th, 08, I must have distributed at
least one of the bags, because I had two left. In addition to
distributing them, I wanted to put in some rafter vents. The
previous owner had the insulation stuffed into the rafters and
blocking the soffit vents. I could have just pulled the insulation
back from the soffit, but the rafter vents allow you to stuff the
insulation out to the soffit and maintain airflow from the soffit to
the ridge vent. For $2.27 a vent, it gives you the best of both
worlds.
|
 |
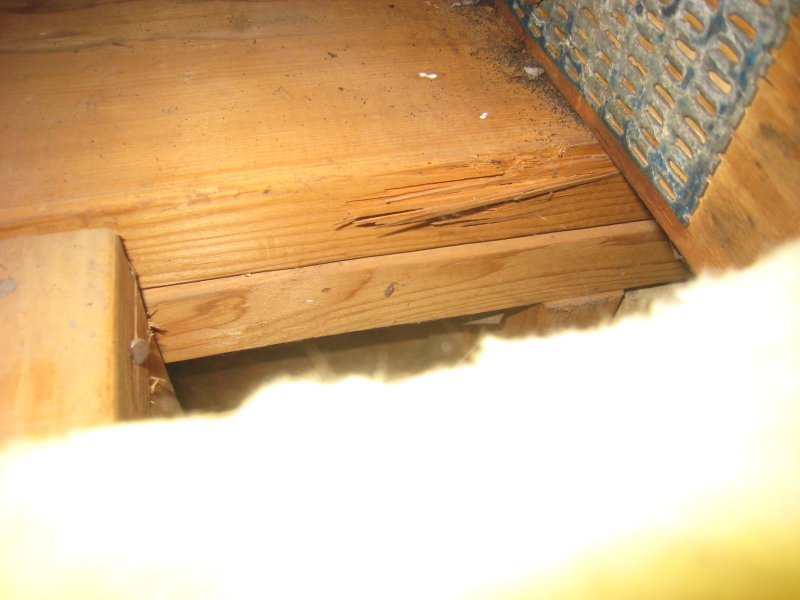
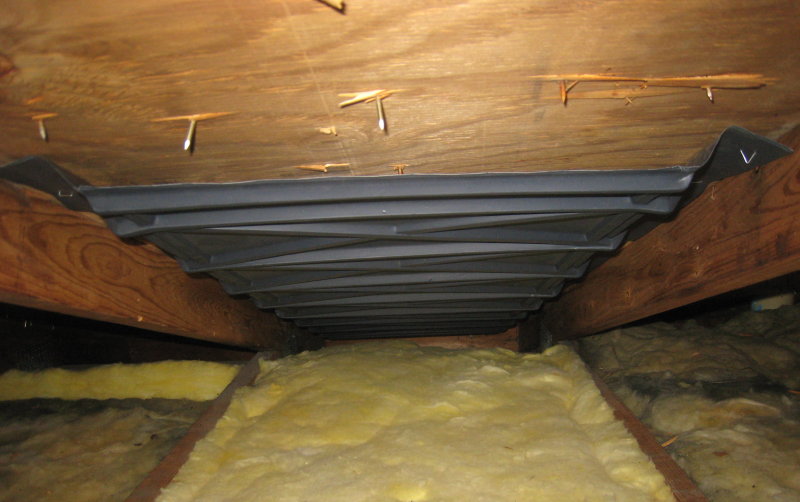
The rafter vents also gave me a better
strategy for fighting the "heat streak". Part of the cause was this.
Notice the gap between the yellow fuzz at the bottom of the picture
(the insulation) and the 2"x4" at the top? The 2"x4" is the top of
the outside wall. The gap goes down into the soffit over the kitchen
cabinets. The insualtion is supposed to span the cap and rest
(actually be stapled) to the top lf the wall. Obviously it wasn't
any of that.
|
 |
|
With the rafter vent in there, I could push the insulation
out over the wall and not worry about covering the roof soffit
vents. Now all I need is a cold morning with frost to see if this
fixes it or at least reduces it significantly.
I still have
insulation work to do (about 2 bags or 30 batts) and more rafter
vents to put in.
|
 |
|
| |
10/24/09 Details continued here,
and here.
11/22/09
Completed here.
|
| |
|
|
|
|
|
|
|