|
Since joining The Mighty Mighty Spot Brand Team, I've waited
patiently for this day. All the while I was conjuring up different
ways to build the page that would document the build of my new Spot
Brand bike. I had goofy titles, image filtering, all kinds of little
gimicks to make the page as exciting as it has been for me to get
this thing. Then everything got busy and it all went to hell. Now
I'm glad to get a page done at all (though nearly two weeks late).
Anyway, here we go.
Once upon a time...
Nah. Didn't go
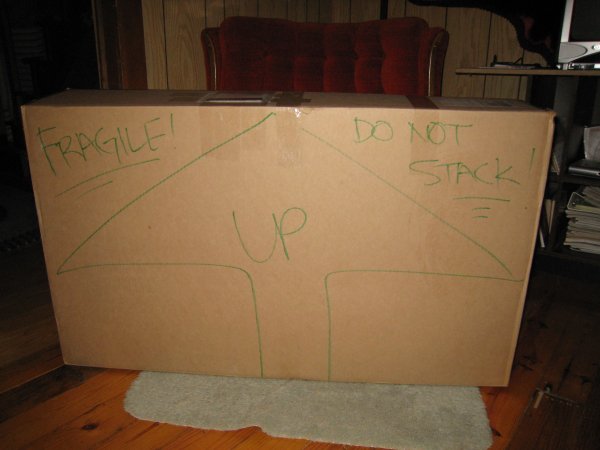
down like that. I was expecting the frame to arrive on Monday the
15th, but after checking the tracking website I saw an attempted
delivery was made that Friday the 12th. Unfortunately I was
scheduled to make a long-ass drive to a cabin in central Pennsylvania
that night for the weekend. I had to make a detour, and detour we
did. Into the Subaru went three guys, our gear for the weekend and
my Spot Brand bike for a three hour trip into the night. A little
after midnight we arrived and I unloaded my
prize.
|
 |
I had seen a couple of post
paint photos, but seeing it in person was unbelievable. I finally
got to touch it. Sort
of.
|
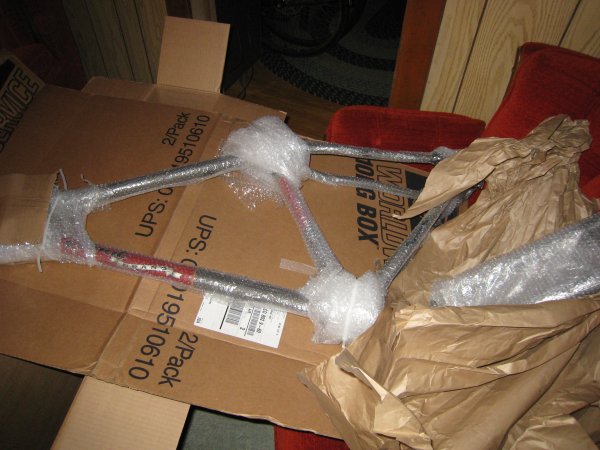 |
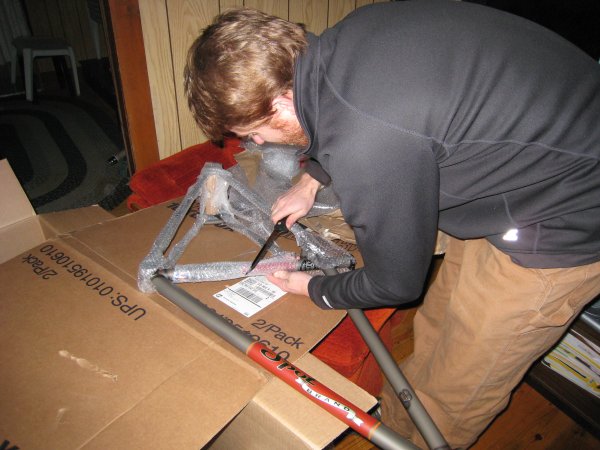
Between a long day, a couple
of beers and a long drive it took me a while to get through the
packaging. It was totally worth
it.
|
 |
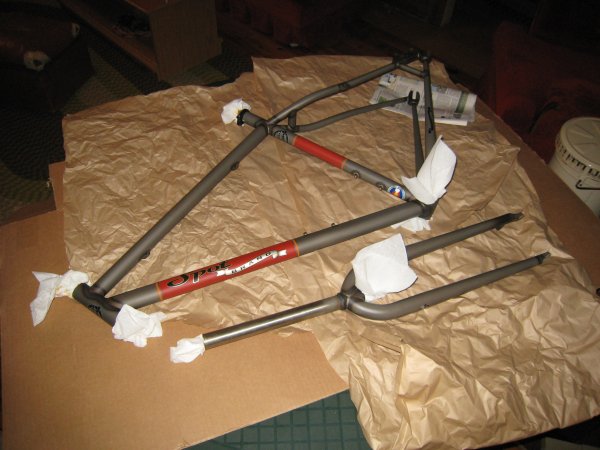
The next morning I got right to the task of
applying frame saver to the insides. Since the frame
saver process takes a little time, I didn't even
bother with
parts or buildup (didn't have the room in the car
anyway).
|
 |
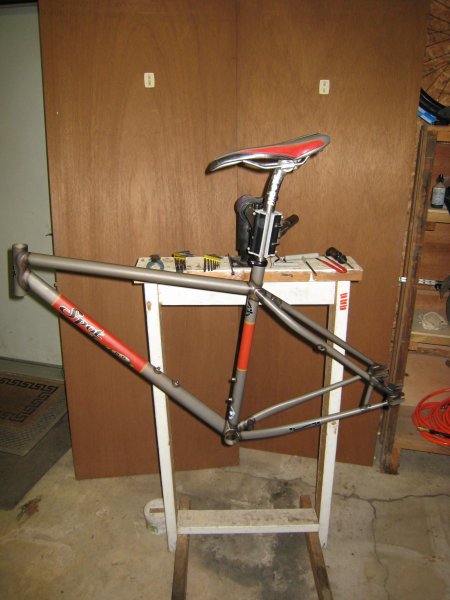
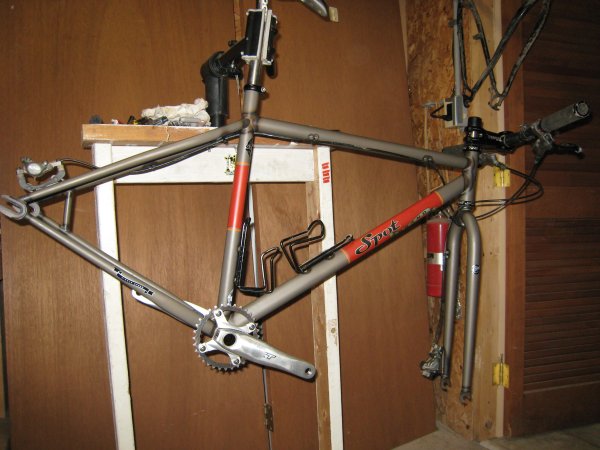
Skip ahead to Monday night and it was time to
start building. The first piece was the Moots Ti seat post (yeah
matched with a cheap crappy
Fuji seat I found in a leftovers
bin). I admit I was a little petty and wanted to put on my Thomson
post because it was black, but I couldn't let
the Moots just sit
around.
|
 |
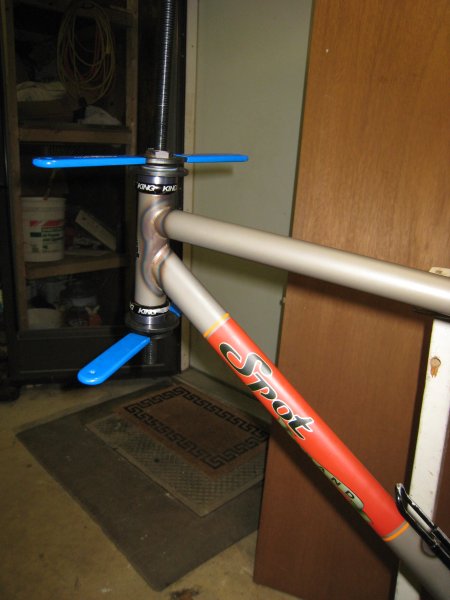
Next step was
the headset. I actually pulled the whole thing apart, cleaned it and
replaced the seals and snap rings before installing on the
bike. What's with the welds? More on that
later.
|
 |
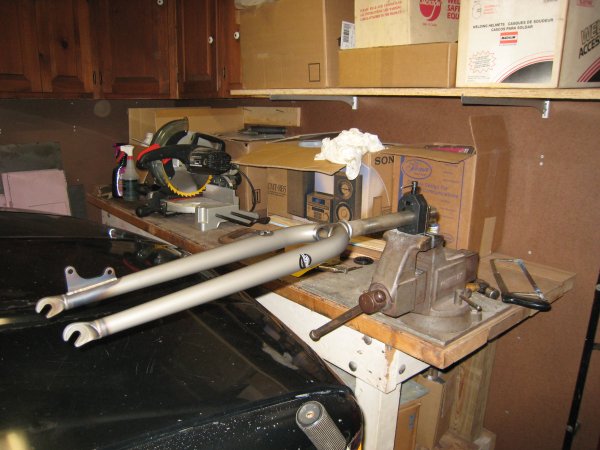
Now the fork. I was a little
nervous cutting the steer tube as this was the first steer tube I
cut unsupervised. I decided to cut it a little tall just
in
case.
|
 |
|
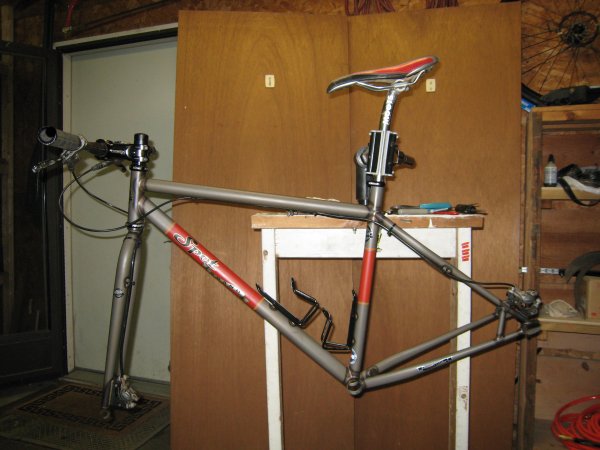
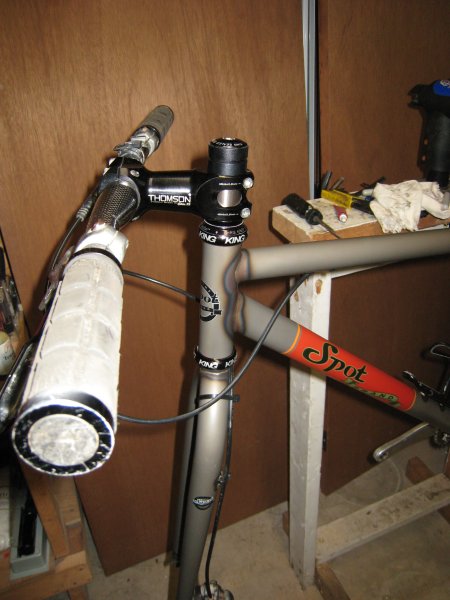
With the steertube
cut, the cockpit went together pretty quick. I threw on my OS
Thomson stem, FSA carbon straight bars and Juicy
Five
hydros. Not much left
now.
|
 |
A close up of the cockpit. From the
beginning, I had doubts about the bars and had plans for new
grips. I figured, I'd ride it and see.
|
 |
Ah the cranks. Getting
closer...
|
 |
|
|
|
-
More - |
| |
|
|
|
|
|
|
|
|
|
|
|
|
|
|